Many 8MS screens provide the ability to search for data. The results of such searches are typically presented as scrolling lists of data. The image below is a screenshot from the Search Local Records screen. Note the top portion of the screen is highlighted in red. The highlighted section contains all of the common features that are designed to assist in analyzing, managing, and sorting the search results.
These features are described below.
Selecting the hyperlink labeled Show Numbers Only will change the lower frame from a list of details to a simple, text-only list of numbers, allowing the set of numbers to be easily selected, copied and then pasted wherever you wish.
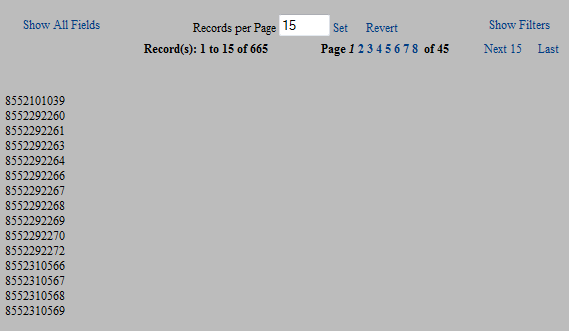
Note that the Show Numbers Only link has changed to Show All Fields. Selecting the Show All Fields link will return the frame back to the normal detailed view.
This link will only appear on screens that contain data related to toll-free numbers, including: Search Local Numbers and Search Local Records but will not appear on Search Local Templates or Activity Log.
When viewing 8MS on a smaller monitor, a user may decide to view more records rather than the filtering features. For example, consider the following screenshot of Search Local Records.
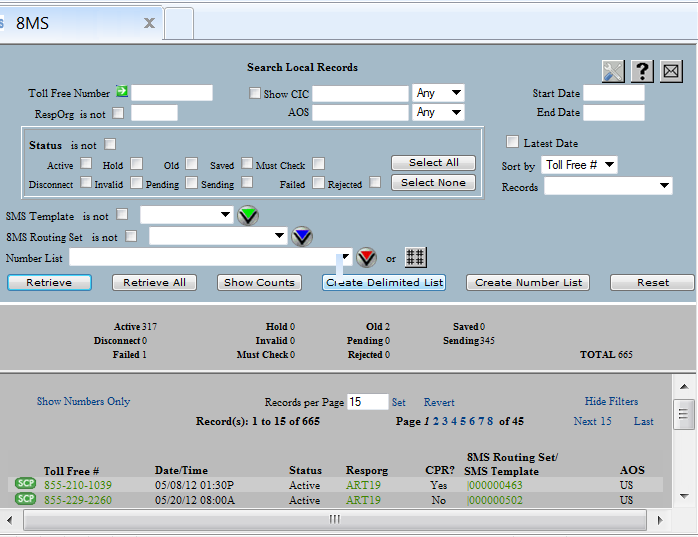
In this example, only 2 records in the data list can actually be seen, although the scrollbar on the lower right indicates that more records are available. To overcome this space limitation, the Search screens provide the ability to hide the filters dynamically. Selecting the hyperlink labeled Hide Filters will hide the filtering area, allowing more rows of data to be seen.
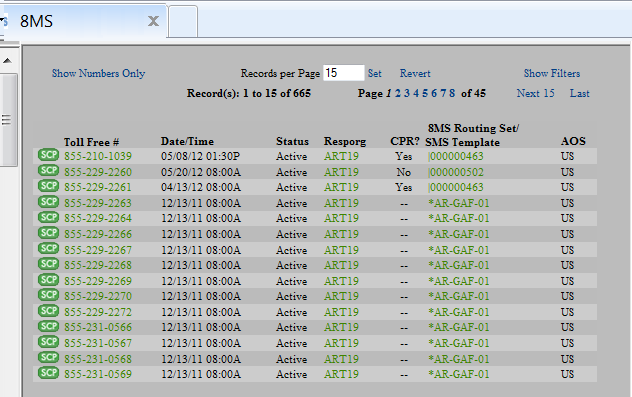
Note that the Hide Filters link has changed to Show Filters. Selecting the Show Filters link will restore the filtering area.
Each of the Search screens provides at least two ways of viewing a list of data.
The
 button retrieves all records matching the search criteria and immediately
displays all the records. Using this function allows users to view
all of their records on a single page; however, depending on the number of
records found, the retrieval may be slow.
button retrieves all records matching the search criteria and immediately
displays all the records. Using this function allows users to view
all of their records on a single page; however, depending on the number of
records found, the retrieval may be slow.
The
 button retrieves all records matching the search criteria but only
displays one page of the data. Where applicable, there are user preferences
that define how many records are displayed on a single page.
(See Customizing 8MS
to view the user preferences for each screen. See the user guide page
for each particular screen for a link to user preferences for that screen,
under the section Customization.)
Using the Retrieve button will retrieve records more quickly than
Retrieve All; however, not all data will be displayed on a single page.
button retrieves all records matching the search criteria but only
displays one page of the data. Where applicable, there are user preferences
that define how many records are displayed on a single page.
(See Customizing 8MS
to view the user preferences for each screen. See the user guide page
for each particular screen for a link to user preferences for that screen,
under the section Customization.)
Using the Retrieve button will retrieve records more quickly than
Retrieve All; however, not all data will be displayed on a single page.
If a Retrieve search yields more records than specified in the records-per-page user preference, then a series of links and a text field are displayed for navigating between pages.

| Field | Description |
|---|---|
| Records per Page | Shows the current user preference value for this screen. To change the number of records shown per page, enter the new value and select the Set link to the right of the text field or press Enter. To change the records per page value back to the user preference, select the Revert link. Whenever the Set or Revert function is used, the screen jumps back to the first page of data. |
| First | Selecting this link shows the first page of the set. This link will not be available when viewing the first page. |
| Previous X | Selecting this link shows the previous page, relative to the current page being viewed. The value for X will be the current value of the Records per Page text field. This link will not be available when viewing the first page. |
| Next X | Selecting this link shows the next page, relative to the current page being viewed. The value for X will be the current value of the Records per Page text field. This link will not be available when viewing the last page. |
| Last | Selecting this link shows the last page of the set. This link will not be available when viewing the last page. |
| Page X of Y | Selecting a specific page number link from this list will display the corresponding page. The system attempts to show a range of 3 to 4 pages surrounding the current page, allowing the user to navigate to a page near the current one. Finally, in addition to showing what page you are currently viewing, to the left of the page range is a read-only field showing the current set of records you are viewing. |
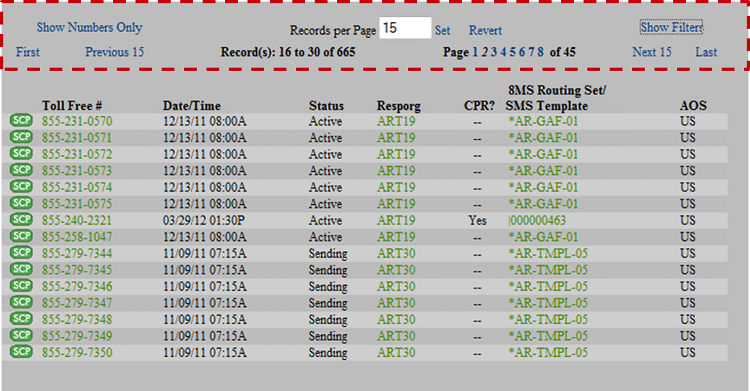
To make individual rows in lists of data easier to view, odd and even rows are shown in different shades of grey, making it visually easier to track data for a single row across all columns of that row. See below for an example of row striping, from the Search Local Records screen.

The colors used to stripe odd and even rows are controlled by a single Company/User Preference called RowStripeColors. Refer to Customizing 8MS for how to set User and Company Preferences and see RowStriping for details on customizing row striping.
When the mouse floats over a particular row, that row is highlighted in a different color, to emphasize the current row (as shown below).
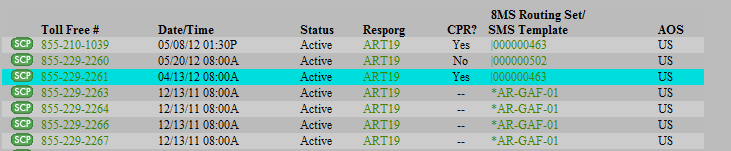
The colors used to highlight the current row, are controlled by a single Company/User Preference called RowHighlightColors. Refer to Customizing 8MS for how to set User and Company Preferences and see RowHighlightColors for details on customizing current row highlighting.
Each Search screen has a MaxRetrieve User Preference associated with it. This preference sets a maximum number of records allowed to be retrieved when performing a search. This is done in an attempt to avoid running a search that will take several minutes to execute and display. Prior to release 9.4, if a search resulted in more records than the MaxRetrieve preference, a message would appear stating that the search could not be performed.
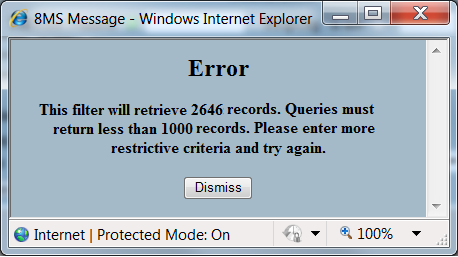
Users then had 2 options; they could modify the MaxRetrieve preference or they could provide more restrictive filters. As of release 9.4, this message has been changed to allow users to override the preference for this single query.
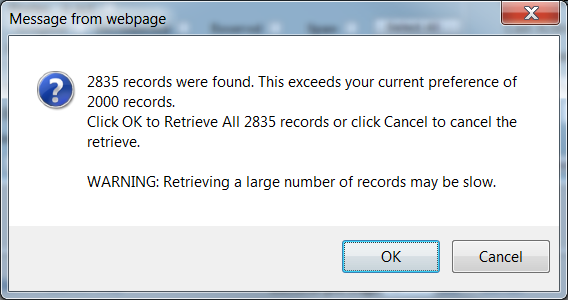
Selecting the OK button will execute the query; selecting the Cancel button will cancel the query. If the query is cancelled, The user then has the option to provide more restrictive filters.