
| 8MS User Guide |
Record Management: Lumen-5102 |
Main Help Page |
This screen allows you to activate a new toll-free number, modify data for an active toll-free number, and move an active toll-free number on the Lumen-5102 network.
To access the Lumen-5102 tab of Record Management, select the Record Mgmt link located in the Number Admin section of the menu and then select the Lumen-5102 tab.
The screen is divided into two main areas:
The top section of the Lumen-5102 screen appears as follows:
This section is used for sending a single toll-free number or a batch of numbers to the Lumen-5102 carrier. Sending records is discussed below.
As mentioned above, the lower area of this screen is divided into four sections. The first section contains Lumen-5102 number information and appears as follows.
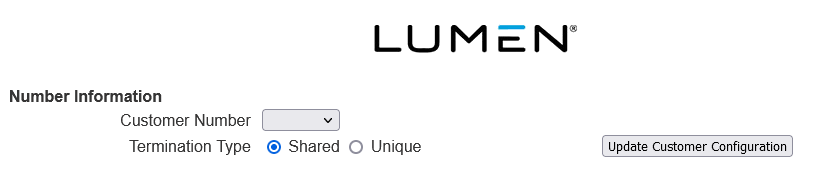
When a Customer Number is selected, the customer description appears to the right of the drop-down list as shown below.

The table below describes the fields for this section.
| Field | Description |
|---|---|
| Customer Number | The Lumen-5102 customer number that identifies this customer. |
| Termination Type | Indicates whether this is a Shared or Unique termination type. |
| Update Customer Configuration | 8MS stores a snapshot of your Lumen data and refreshes this data on a scheduled basis. In the event that your data is not up-to-date, selecting the Update Customer Configuration button refreshes your Lumen data. |

| Field | Description |
|---|---|
| Billing Account | The Lumen billing account. This field is available for dedicated and switched service. |
| Billing Telephone Number | The billing telephone number. This must be a valid POTS number and is available for dedicated and switched service. |
| Service Area | Defines the regions from which a toll-free number will receive calls. The options available for this field are a subset of the SMS CAD Service Area. For a description of these fields, see Service Area. |

The table below describes the fields for this section.
| Field | Description |
|---|---|
| Route Name | The Route Name to be used to route this toll-free number. |
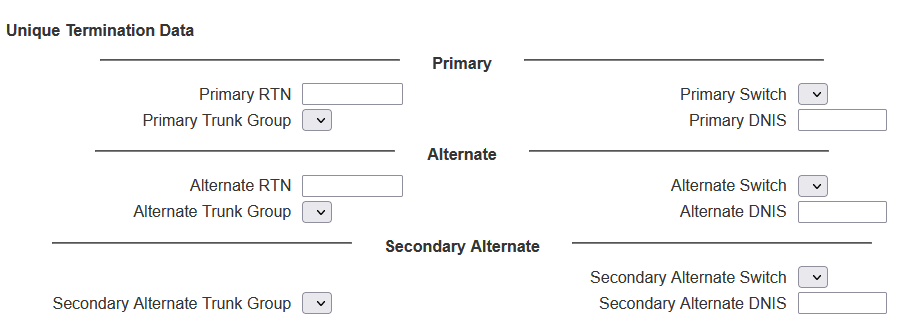
The table below describes the fields for this section.
| Field | Description |
|---|---|
| Primary RTN | The ring to number (Translated WTN). This must be a valid POTS number. |
| Primary Switch | The switch used for routing calls for this toll-free number. |
| Primary Trunk Group | The trunk group associated with the specified Primary Switch. |
| Primary DNIS | The DNIS digits associated with the specified Primary Switch which are passed on during the call. |
| Alternate RTN | The alternate ring to number (Translated WTN). This must be a valid POTS number. |
| Alternate Switch | An alternate switch used for routing calls for this toll-free number. |
| Alternate Trunk Group | The trunk group associated with the specified Alternate Switch. |
| Alternate DNIS | The DNIS digits associated with the specified Alternate Switch which are passed on during the call. |
| Secondary Alternate Switch | An additional alternate switch used for routing calls for this toll-free number. |
| Secondary Alternate Trunk Group | The trunk group associated with the specified Secondary Alternate Switch. |
| Secondary Alternate DNIS | The DNIS digits associated with the specified Secondary Alternate Switch which are passed on during the call. |
Once the desired information has been specified, the target toll-free number is entered. This is done by entering your number in the Toll Free Number field at the top of the screen.
Select the  button in the non-scrollable area at the top of the screen.
A message will appear in the response frame (the bottom
area of the screen) indicating the status of the request.
button in the non-scrollable area at the top of the screen.
A message will appear in the response frame (the bottom
area of the screen) indicating the status of the request.
This function allows you to activate, change or move multiple numbers on the Lumen-5102 network.
Fill in the appropriate fields as discussed above.
However, instead of entering a toll-free number and hitting the
button,
leave the toll-free number field blank and click the
 button.
The Batch Popup will appear.
See Batches in the
Common Features section
for details on the Batch Popup.
button.
The Batch Popup will appear.
See Batches in the
Common Features section
for details on the Batch Popup.
The Toll Free Number field under both the Select and
Schedule sections of the top frame can provide a history of the
number entered into the field. Clicking on the
 .
image to the right of the field will produce a popup containing the
change history of the selected number. For more information, see
Number History.
.
image to the right of the field will produce a popup containing the
change history of the selected number. For more information, see
Number History.
There are preferences that may be set to change the behavior of this screen. Refer to Customizing 8MS for how to set User and Company Preferences and see Record Management Preferences for details on customizing this screen.